MCP Apps
This guide shows a practical starting point for MCP Apps with RubyLLM MCP, focused on the core implementation ideas you need to wire it correctly.
Table of contents
- Core Ideas
- Step 1: Enable MCP Apps Capability
- Step 2: Connect a Client
- Step 3: Inspect MCP Apps Metadata
- Step 4: Implement the Render/Action Loop
- Step 5: Keep Configuration Layered
- Common Pitfalls
- Next Steps
- Working Example Application
Core Ideas
- Negotiate capabilities at the client layer
Register UI capability withconfig.extensions.enable_apps. - Keep metadata where it belongs
Use extension config for capability fields (mimeTypes) and_meta.uifor tool/resource UI metadata. - Read metadata through RubyLLM MCP objects
Useapps_metadataon tools/resources/templates instead of manual hash parsing. - Separate model actions from UI rendering
Keep tool execution and UI content generation explicit so app behavior is predictable.
Step 1: Enable MCP Apps Capability
RubyLLM::MCP.configure do |config|
  config.extensions.enable_apps(
    "mimeTypes" => ["text/html;profile=mcp-app"]
  )
end
This advertises io.modelcontextprotocol/ui when the session protocol supports extensions (2025-06-18+ and draft).
Step 2: Connect a Client
client = RubyLLM::MCP.client(
  name: "mcp-app-server",
  adapter: :ruby_llm,
  transport_type: :stdio,
  config: {
    command: "npm",
    args: ["--prefix", "examples/mcp_app/test_server", "run", "start:stdio"]
  }
)
Use :ruby_llm when you want full extension capability advertisement.
:mcp_sdk accepts the same config but remains passive for extension advertisement.
Step 3: Inspect MCP Apps Metadata
tool = client.tool("render_items_embed")
puts tool.apps_metadata.resource_uri
puts tool.apps_metadata.visibility.inspect

resource = client.resource("ui_shell")
puts resource.apps_metadata.domain
puts resource.apps_metadata.permissions.inspect
These accessors normalize canonical and legacy metadata shapes.
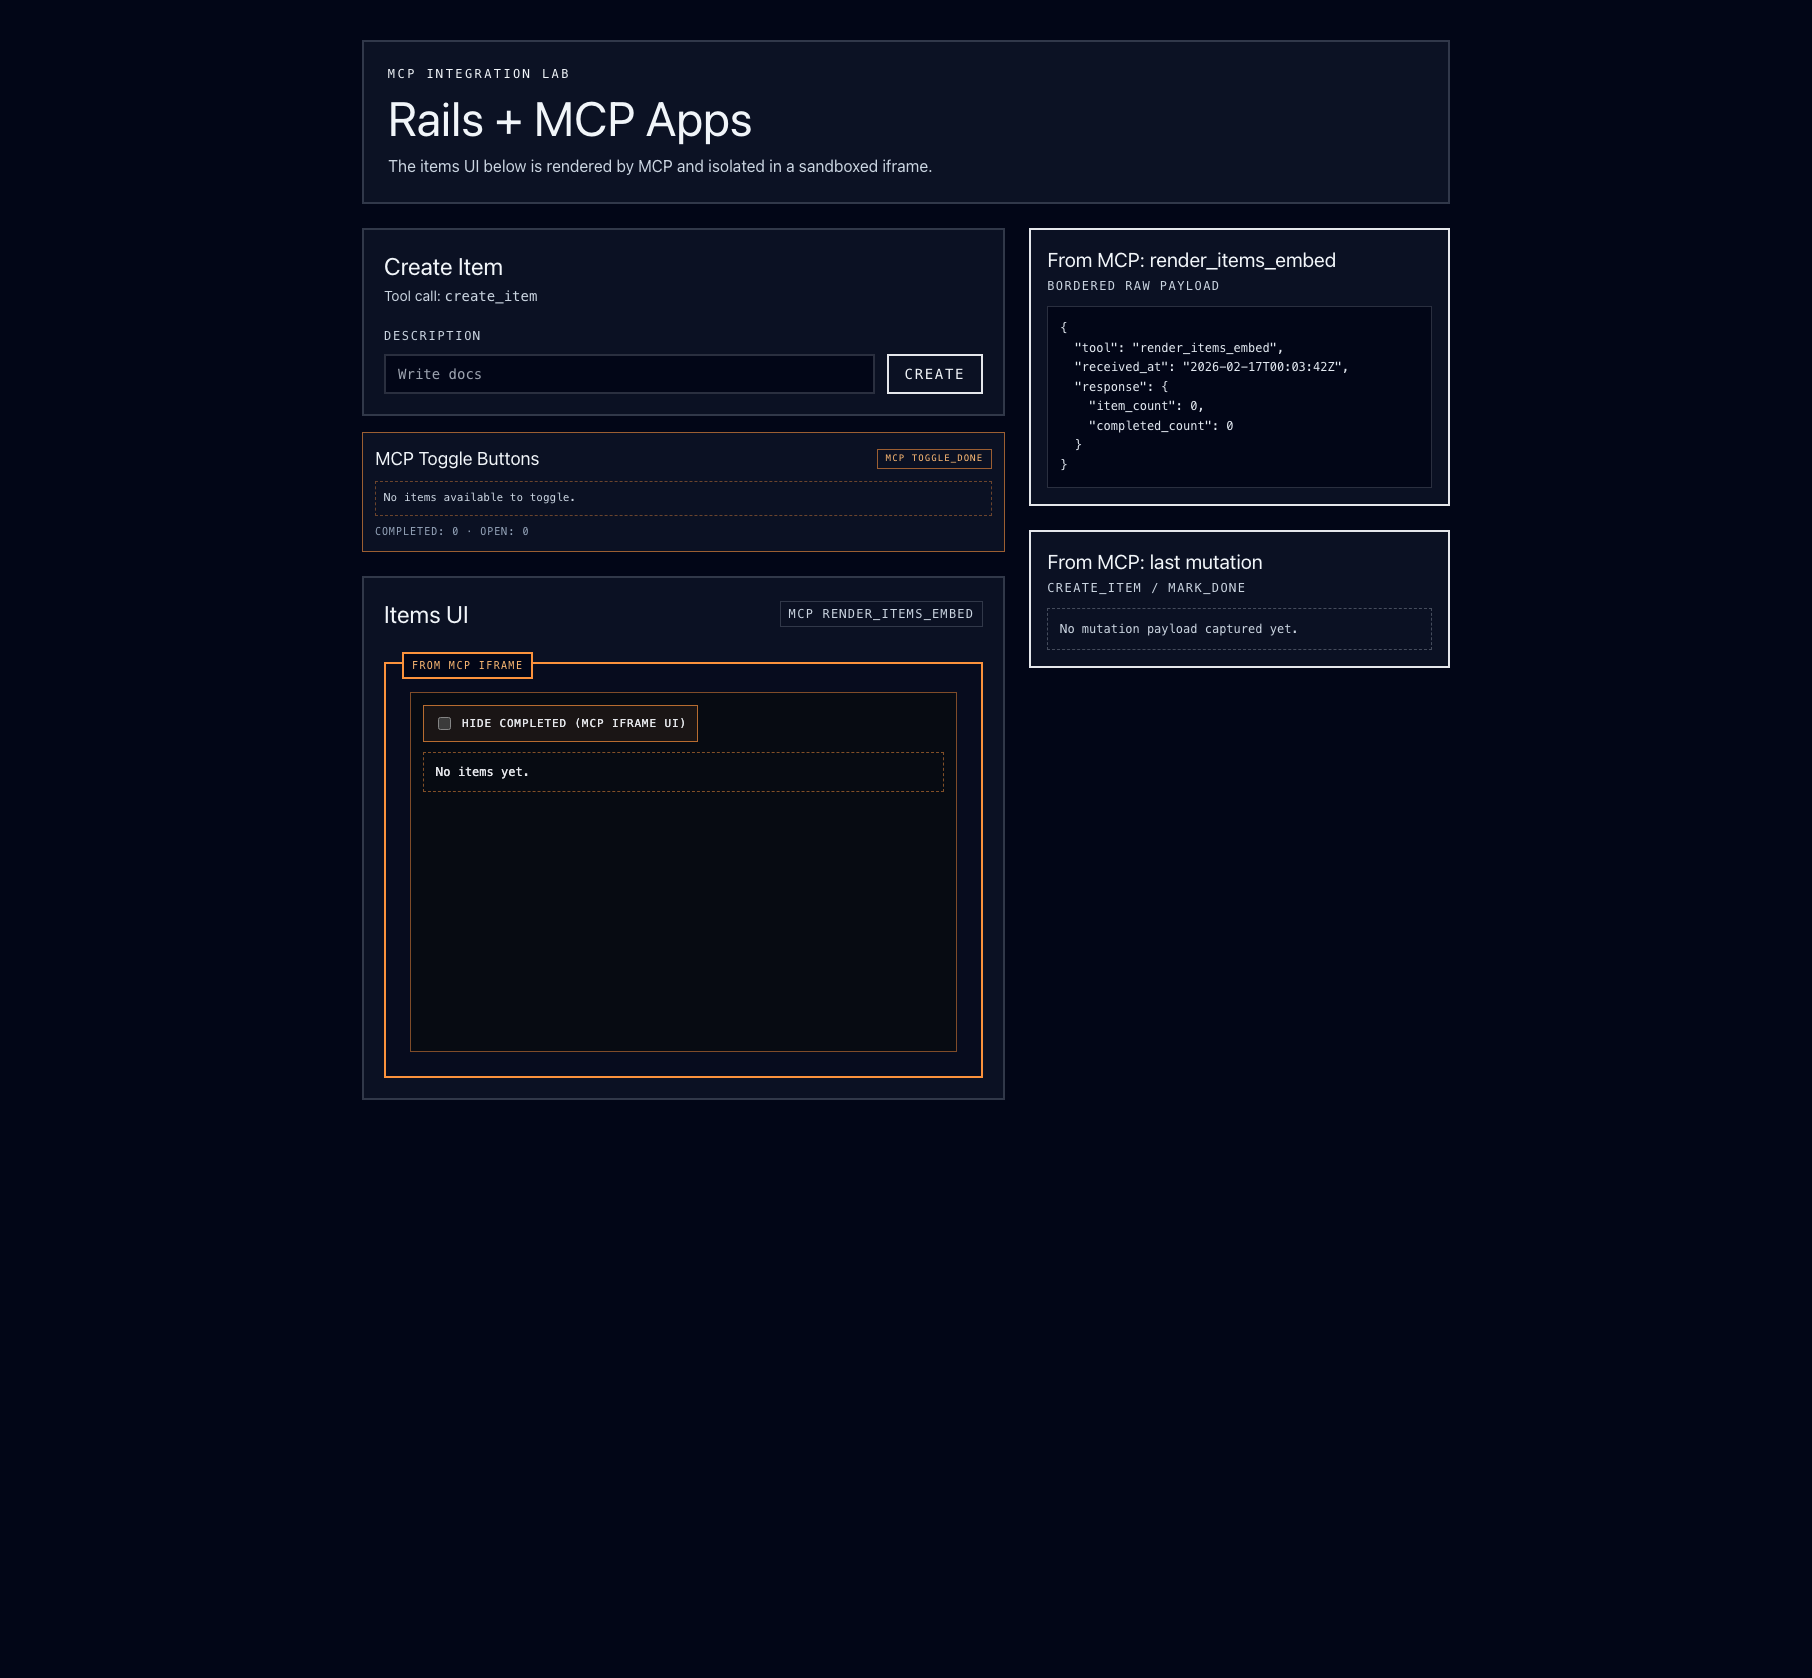
Step 4: Implement the Render/Action Loop
A clean MCP Apps pattern is:
- Use one tool/resource to provide embeddable UI payloads (usually HTML or URI-based references).
- Use separate tools for data mutations (
create,toggle,mark_done, etc.). - Route UI events back to mutation tools, then re-fetch or patch UI state.
The local example at examples/mcp_app demonstrates this split:
- Server toolset in
examples/mcp_app/test_server/src/server.ts - Rails integration in
examples/mcp_app/rails_app/app/services/mcp_app_client.rb - UI wiring in
examples/mcp_app/rails_app/app/views/mcp_items/index.html.erb
Step 5: Keep Configuration Layered
Use global defaults, then override per client only when needed:
RubyLLM::MCP.configure do |config|
  config.extensions.enable_apps
end

client = RubyLLM::MCP.client(
  name: "special-app-server",
  adapter: :ruby_llm,
  transport_type: :streamable,
  config: {
    url: "https://example.com/mcp",
    extensions: {
      "io.modelcontextprotocol/apps" => {
        "mimeTypes" => ["text/html;profile=mcp-app", "text/html"]
      }
    }
  }
)
RubyLLM MCP canonicalizes IDs and deep-merges client extension settings over global defaults.
Common Pitfalls
- Putting
resourceUriorvisibilityinenable_apps(those belong in tool_meta.ui) - Expecting extension advertisement on protocol versions before
2025-06-18 - Assuming
:mcp_sdkadvertises extension capabilities (it does not)
Next Steps
- Client Extensions - Extension architecture and merge behavior
- MCP Apps - Metadata mapping details
- Adapters & Transports - Adapter mode comparison and transport strategy
Working Example Application
This repository includes a working example application with MCP Apps support at examples/mcp_app.